Reka Bread Recipe: Bake a Delicious Traditional Treat 🍞👩🍳🌟
1. Introduction
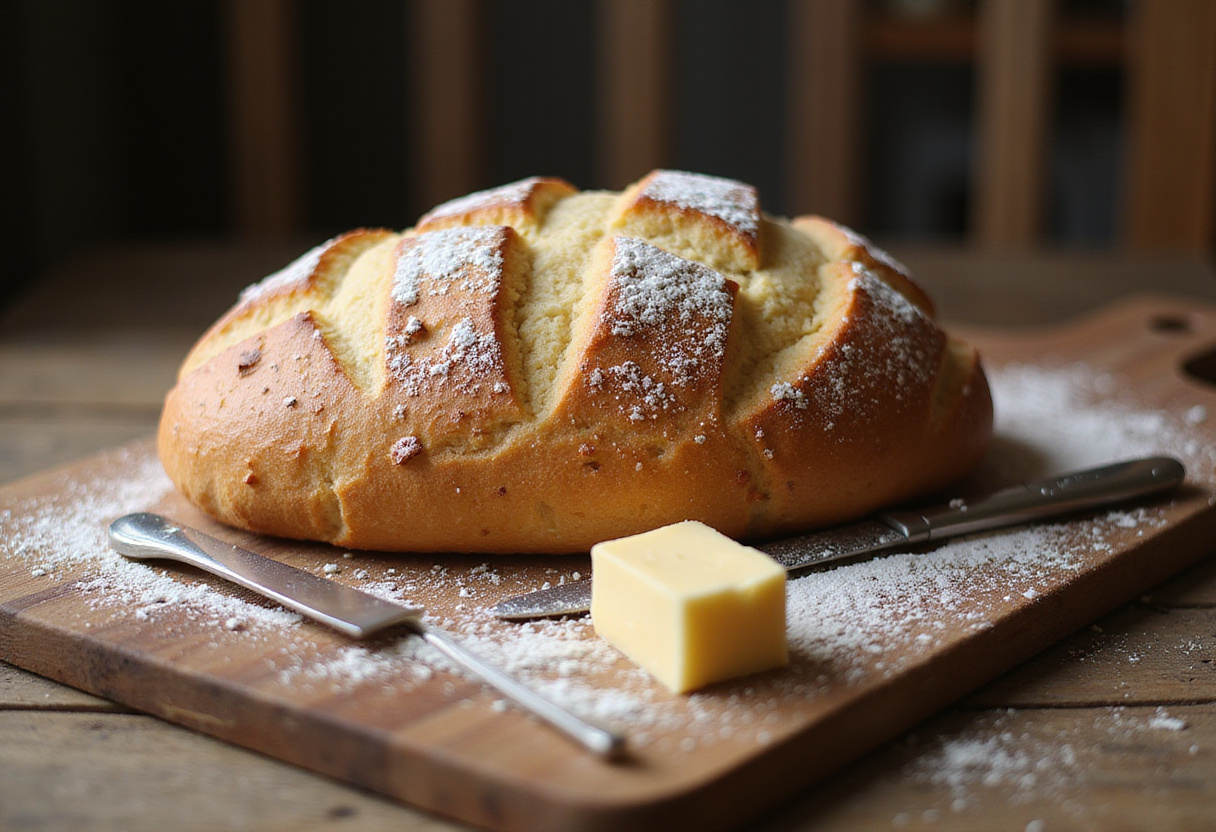
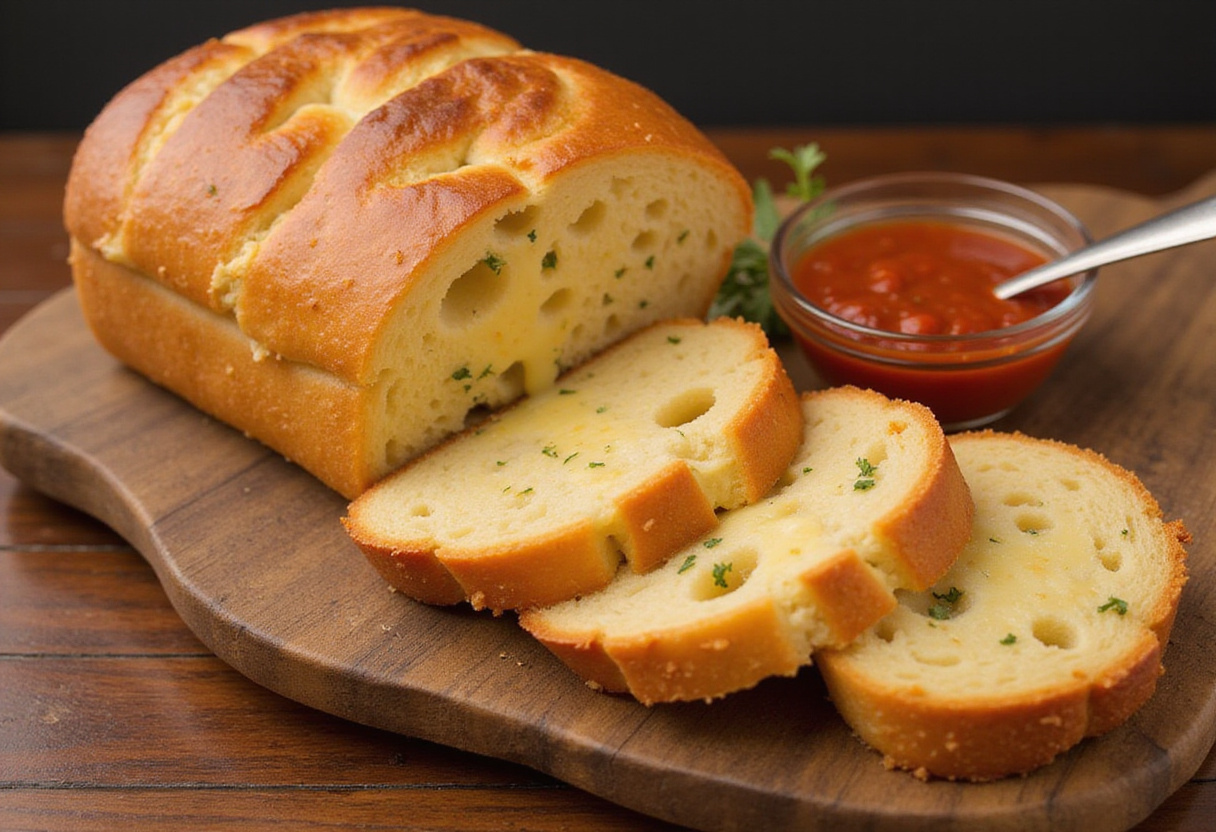
The reka bread recipe is a delightful journey into traditional baking, resulting in a sweet and tender loaf perfect for any occasion. Imagine the aroma of freshly baked bread wafting through your home! This guide provides comprehensive reka bread instructions, ensuring a delicious outcome every time. If you’ve ever wondered how to make reka bread, you’re in the right place. Perhaps you usually stick to simple recipes but are ready to try something new. Known for its slightly sweet flavor and beautiful braided presentation, reka bread is sure to impress. It’s a guaranteed crowd-pleaser! Follow this reka bread baking guide and enjoy the rewarding experience of creating this unique and flavorful bread from scratch.
2. Understanding Reka Bread
Reka bread, often enjoyed during holidays and special occasions, is prized for its soft texture and subtle sweetness. It’s more than just bread; it’s a taste of tradition, perfect for sharing with loved ones. This reka bread recipe has been passed down through generations, evolving slightly with each baker. Each family often has their own unique twist! The key to a perfect reka bread lies in the quality of ingredients and the precision of the baking process. Think of it, using fresh high quality ingredients like farm fresh eggs. By following these reka bread instructions carefully, you can recreate this timeless treat in your own kitchen. Whether you’re looking for how to make reka bread for a festive gathering or simply to enjoy with your morning coffee, the steps in this reka bread baking guide will lead you to success. Consider slicing it and serving it with a bowl of hearty lentil and potato soup during a cold evening.
3. Ingredients for Reka Bread
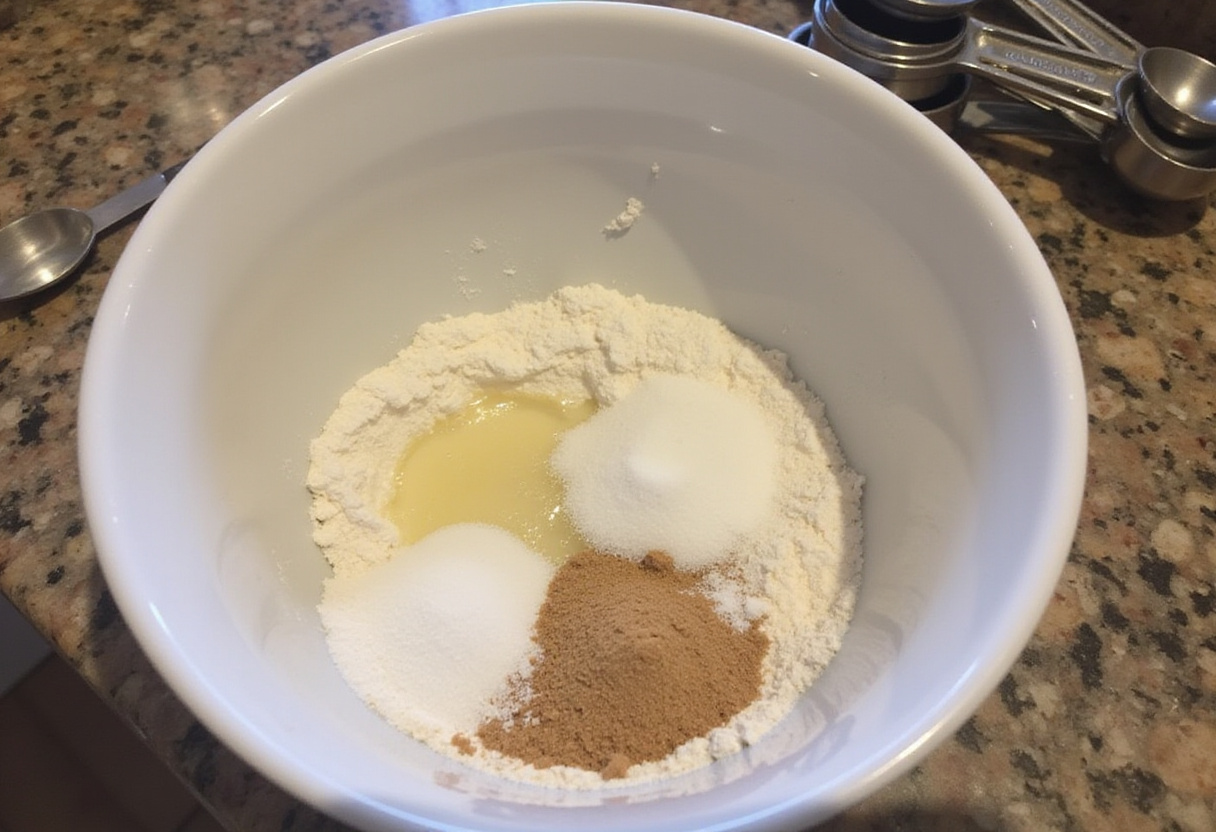
Before you start, gather all the necessary ingredients. Accuracy is key! For this reka bread recipe, you’ll need:
4 cups all-purpose flour
1/2 cup granulated sugar
1/2 teaspoon salt
1/4 ounce (2 1/4 teaspoons) active dry yeast
1 cup warm milk
1/4 cup unsalted butter, melted
2 large eggs
1 teaspoon vanilla extract
Powdered sugar for dusting (optional)
Ensuring you have these ingredients ready is the first step in mastering how to make reka bread. Make sure your flour is fresh and your yeast is within its expiration date for the best results! This reka bread baking guide emphasizes the importance of using fresh ingredients for the best flavor. Following these reka bread instructions carefully will yield a soft, flavorful loaf every time. If you’re looking for other great baking ingredients to use in your kitchen, check out our About Us page to see our favorite brands.
4. Step-by-Step Reka Bread Instructions
Step 1: Prepare the Dough
In a large mixing bowl, combine the flour, sugar, and salt. This ensures even distribution of the dry ingredients. In a separate bowl, dissolve the yeast in warm milk. Make sure the milk isn’t too hot, or it could kill the yeast! Add the melted butter, eggs, and vanilla extract to the yeast mixture. Pour the wet ingredients into the dry ingredients and mix until a dough forms. This reka bread recipe starts with a well-mixed dough, crucial for a good rise. This is key to how to make reka bread properly.
Step 2: Knead the Dough
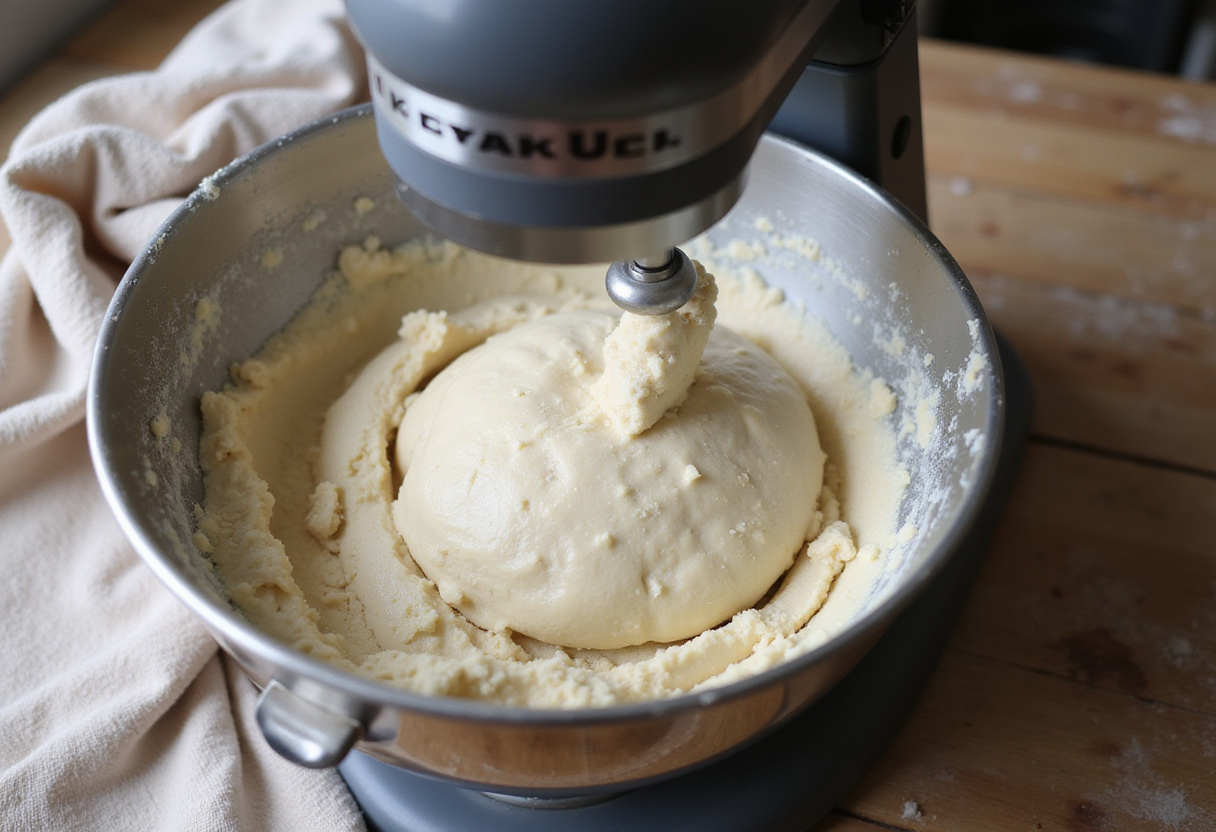
Turn the dough out onto a lightly floured surface and knead for 8-10 minutes, or until smooth and elastic. Kneading develops the gluten, which gives the bread its structure. Alternatively, use a stand mixer with a dough hook attachment. This step is vital in reka bread instructions. A well-kneaded dough ensures a soft texture, which is central to this reka bread recipe. Understanding how to make reka bread involves mastering this kneading technique. If you enjoy baking breakfast items, kneading will come second nature to you! This part of the reka bread baking guide ensures the best results.
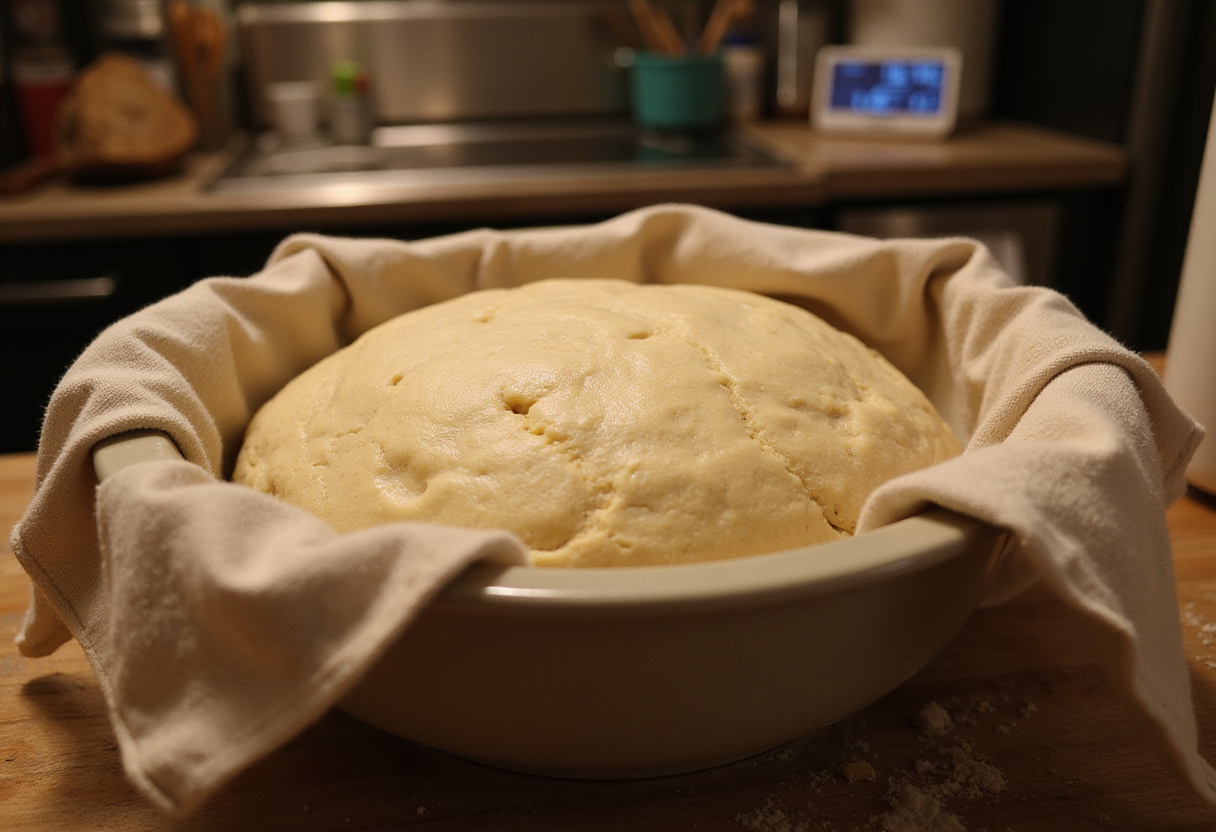
Step 3: Let the Dough Rise
Place the dough in a lightly oiled bowl, turning to coat. This prevents the dough from drying out while it rises. Cover with plastic wrap and let it rise in a warm place for 1-1.5 hours, or until doubled in size. A warm environment helps the yeast to activate and the dough to rise properly. This rising period is critical, as highlighted in the reka bread baking guide. Allowing the dough to double is part of the reka bread recipe‘s core reka bread instructions, crucial for achieving the right texture. Knowing how to make reka bread means understanding the importance of this step.
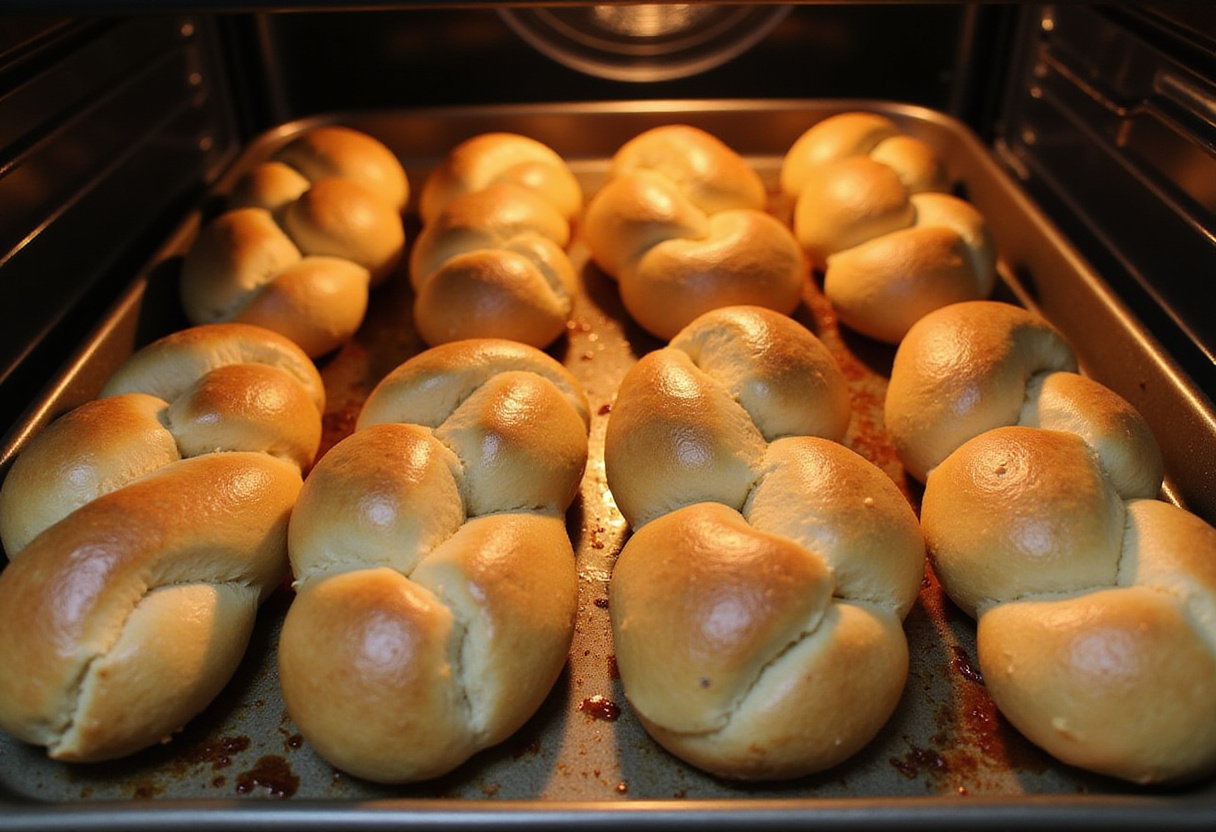
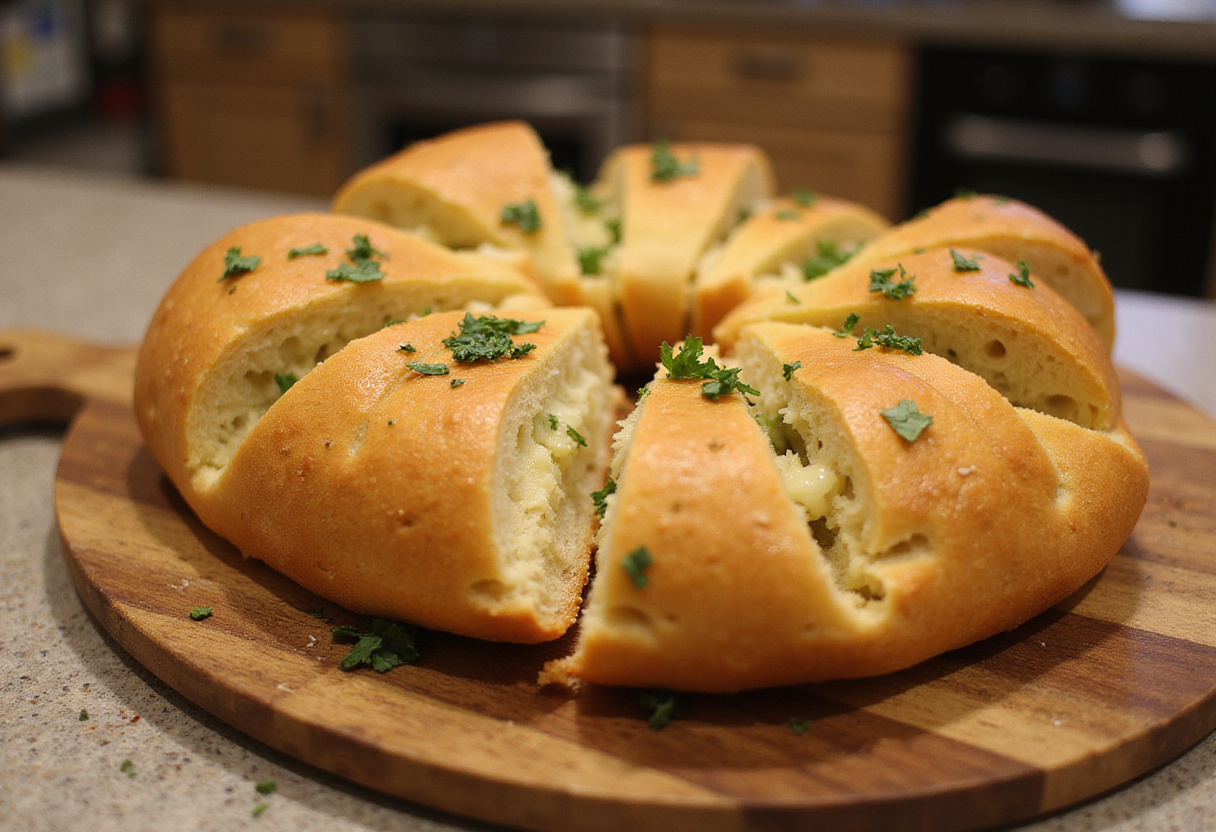
Step 4: Shape and Bake
Preheat your oven to 350°F (175°C). Ensure your oven is properly calibrated for accurate temperature. Punch down the dough and divide it into three equal pieces. This releases the air bubbles and prepares the dough for shaping. Roll each piece into a long rope. Pinch the ends of the ropes together and braid them. Braiding adds a beautiful visual appeal to the bread. Place the braided loaf on a baking sheet lined with parchment paper. This prevents the bread from sticking to the baking sheet. Bake for 30-35 minutes, or until golden brown. A golden-brown crust indicates that the bread is fully baked. This reka bread recipe relies on proper baking time for the perfect golden crust. Following these reka bread instructions for shaping and baking is key. This reka bread baking guide emphasizes watching the bread closely to prevent burning, and is essential to knowing how to make reka bread.
5. Tips for Perfect Reka Bread
To ensure your reka bread recipe turns out perfectly every time, consider these tips. First, ensure your yeast is fresh to promote proper rising. Expired yeast won’t activate properly. Second, don’t over-knead the dough, as this can result in a tough loaf. Over-kneading develops too much gluten. Third, a warm environment is essential for optimal rising. A slightly warm spot encourages yeast activity. Lastly, monitor the bread while baking to prevent over-browning. Ovens can vary, so keep a close eye on the bread. Following these reka bread instructions carefully, as well as these helpful tips, will enhance your understanding of how to make reka bread. Consulting a thorough reka bread baking guide can also provide additional insights for success. If you’re planning a dinner party and want a different kind of bread, maybe try our delicious hot cross buns!
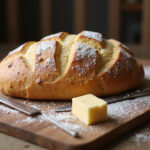
6. Serving Suggestions
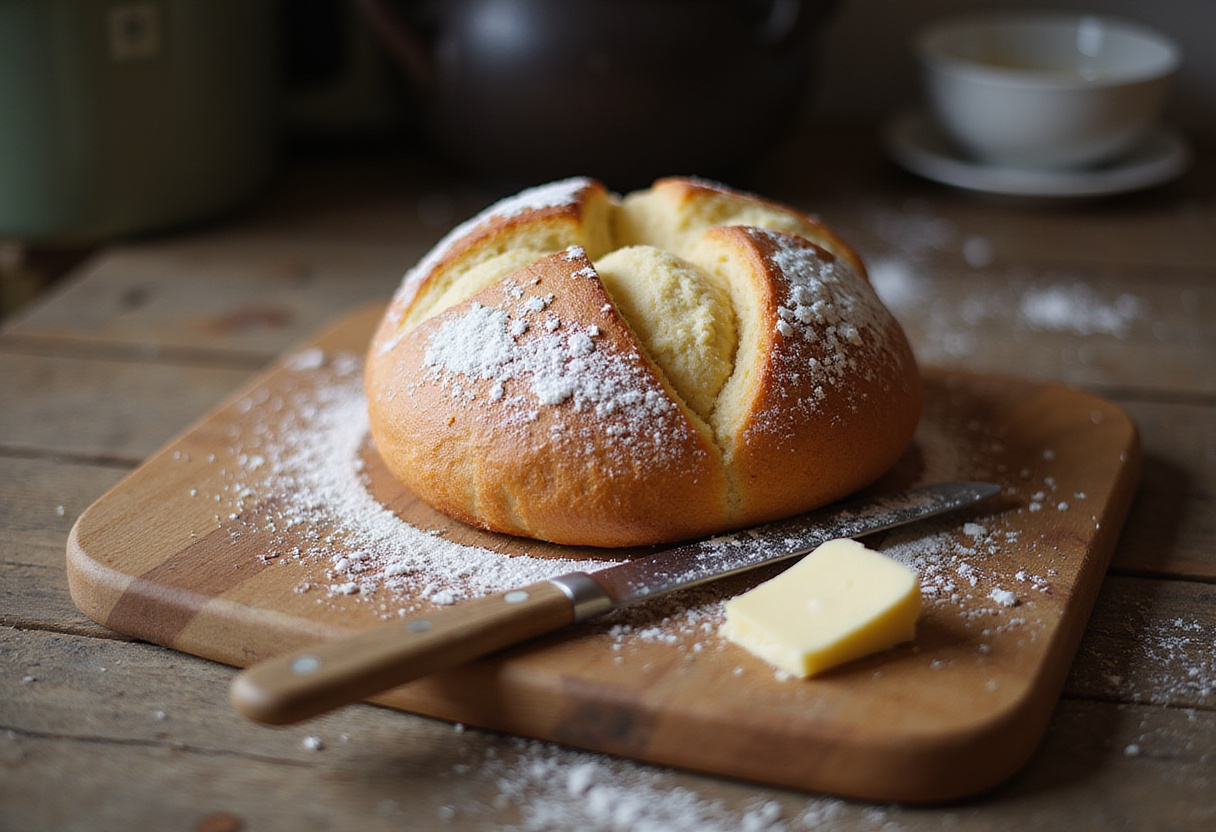
Once your reka bread is baked and cooled, dust it with powdered sugar for an elegant touch. The powdered sugar adds a touch of sweetness and visual appeal. This bread is delicious served warm with butter, alongside a cup of coffee, or as part of a festive meal. It pairs perfectly with both sweet and savory dishes. The subtle sweetness of this reka bread recipe makes it a versatile addition to any table. Whether you follow traditional reka bread instructions or add your own twist, this treat is sure to be a hit. Knowing how to make reka bread allows you to create a delightful experience for family and friends. Remember to use this reka bread baking guide to find the perfect pairing for your baked loaf. Reka bread can also be a great side if you’re planning to make a dinner for you or your guests!
7. Variations of Reka Bread
While the traditional reka bread recipe is delightful, feel free to explore variations to suit your taste. Get creative and experiment with different flavors! Some bakers add lemon or orange zest to the dough for a citrusy flavor. The zest adds a bright and refreshing note. Others incorporate raisins or dried cranberries. Dried fruits add sweetness and texture. For a richer treat, you can brush the loaf with melted butter before baking and sprinkle with coarse sugar. This creates a caramelized, crunchy crust. These variations show that knowing how to make reka bread provides a canvas for your creativity. Find what additions fits you best! The basic reka bread instructions remain the same, allowing for easy experimentation. This reka bread baking guide encourages personal touches for a unique loaf. You can even share your own variation with other Reka bread enthusiasts on sites like Reddit.
8. Troubleshooting Common Issues
Even with the best reka bread instructions, baking can sometimes present challenges. Don’t be discouraged if things don’t go perfectly the first time! If your dough doesn’t rise, check the expiration date of your yeast and ensure your rising environment is warm enough. These are the most common causes of a dough that won’t rise. If the bread is too dense, you may have added too much flour or not kneaded it sufficiently. Accuracy in measurements and proper kneading are crucial. If the crust browns too quickly, tent the loaf with foil during the last part of baking. This prevents the crust from burning while the inside continues to bake. Troubleshooting is a part of mastering how to make reka bread. Consulting this reka bread baking guide can help you identify and correct common issues. Or maybe you’re more interested in desserts?
9. Conclusion
Mastering the reka bread recipe is a rewarding experience that brings a touch of tradition to your kitchen. Imagine sharing this delicious bread with your family during the holidays! By following these detailed reka bread instructions, you can create a delicious and impressive loaf that will delight your family and friends. This reka bread baking guide is designed to help you understand how to make reka bread with confidence. Don’t be afraid to experiment and make it your own! Enjoy the process and savor the results of your homemade Reka bread!
Bake a delicious and traditional Reka bread with this easy-to-follow recipe. This sweet and tender loaf is perfect for any occasion, holidays, or even just to enjoy with your morning coffee!
Ingredients
Scale
4 cups all-purpose flour
1/2 cup granulated sugar
1/2 teaspoon salt
1/4 ounce (2 1/4 teaspoons) active dry yeast
1 cup warm milk
1/4 cup unsalted butter, melted
2 large eggs
1 teaspoon vanilla extract
Powdered sugar for dusting (optional)
Instructions
In a large mixing bowl, combine the flour, sugar, and salt.
In a separate bowl, dissolve the yeast in warm milk. Add the melted butter, eggs, and vanilla extract to the yeast mixture.
Pour the wet ingredients into the dry ingredients and mix until a dough forms.
Turn the dough out onto a lightly floured surface and knead for 8-10 minutes, or until smooth and elastic. Alternatively, use a stand mixer with a dough hook attachment.
Place the dough in a lightly oiled bowl, turning to coat. Cover with plastic wrap and let it rise in a warm place for 1-1.5 hours, or until doubled in size.
Preheat your oven to 350°F (175°C).
Punch down the dough and divide it into three equal pieces. Roll each piece into a long rope.
Pinch the ends of the ropes together and braid them.
Place the braided loaf on a baking sheet lined with parchment paper.
Bake for 30-35 minutes, or until golden brown.
Let cool completely before slicing and serving. Dust with powdered sugar, if desired.
Notes
Ensure your yeast is fresh for proper rising.
Don’t over-knead the dough to avoid a tough loaf.
A warm environment is essential for optimal rising.
Monitor the bread while baking to prevent over-browning; tent with foil if needed.
For a richer flavor, brush the loaf with melted butter before baking and sprinkle with coarse sugar.
Prep Time:25 minutes
Cook Time:30 minutes
Category:Bread
Method:Baking
Cuisine:Eastern European
Nutrition
Serving Size:1 slice
Calories:220 Kcal
Sugar:15g
Sodium:150mg
Fat:6g
Saturated Fat:3g
Unsaturated Fat:2g
Trans Fat:0g
Carbohydrates:35g
Fiber:1g
Protein:5g
Cholesterol:30mg
Hi There!
Welcome to RecipesAlways.com! I’m Chef Megan, and I’m so excited to have you here as we embark on this flavorful journey together.