Foolproof Method for Baking Bread Machine Recipe Book Like a Pro 🍞🥇👩🍳
1. Introduction
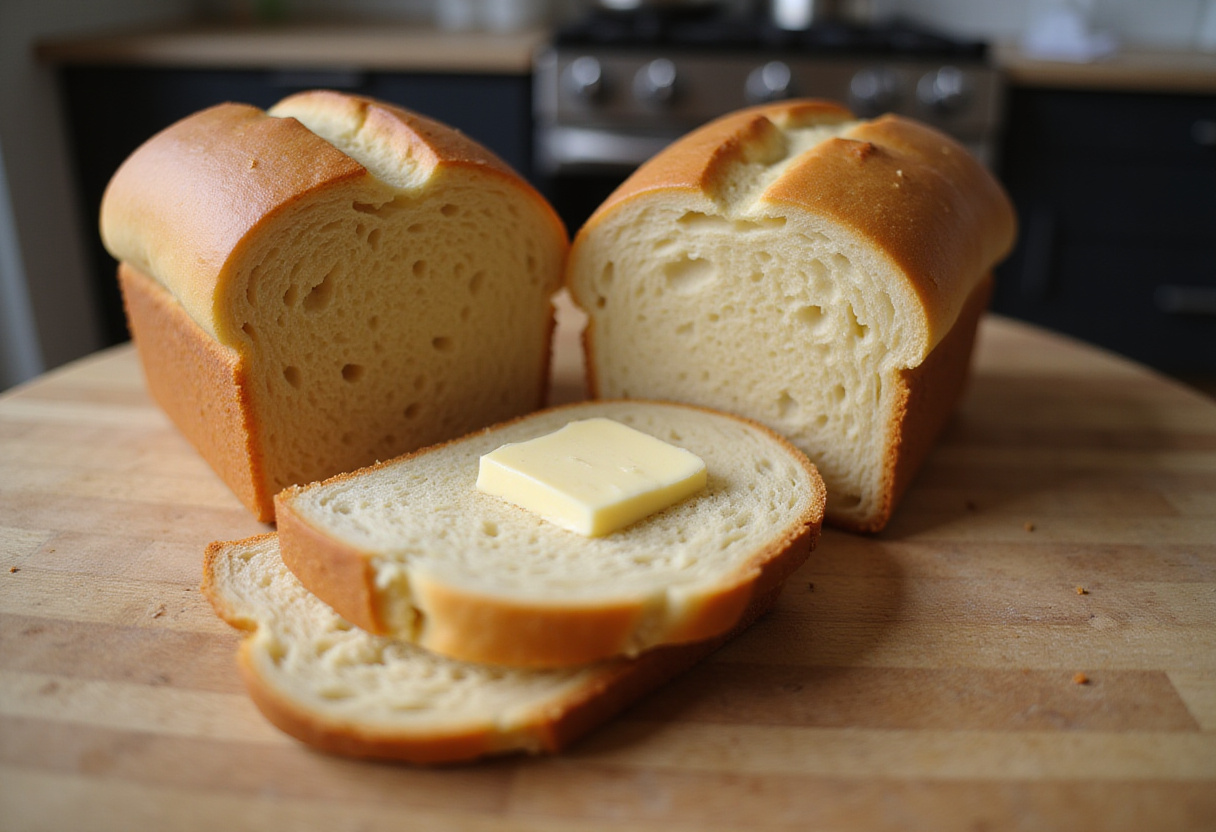
Are you ready to transform your kitchen into a delightful bakery, filling it with the irresistible aroma of freshly baked bread? With the right approach and the convenience of a bread machine, baking bread at home can be incredibly easy and satisfying. This guide will walk you through a foolproof method to create perfect loaves every time, drawing inspiration from some of the best bread machine recipes available. Whether you’re a complete beginner or looking to refine your technique, these tips will ensure your homemade bread is always a success. We’ll explore everything from selecting the right ingredients to troubleshooting common issues. Let’s dive into the wonderful world of easy bread machine recipes and unlock the secrets to consistently delicious and effortlessly baked bread.
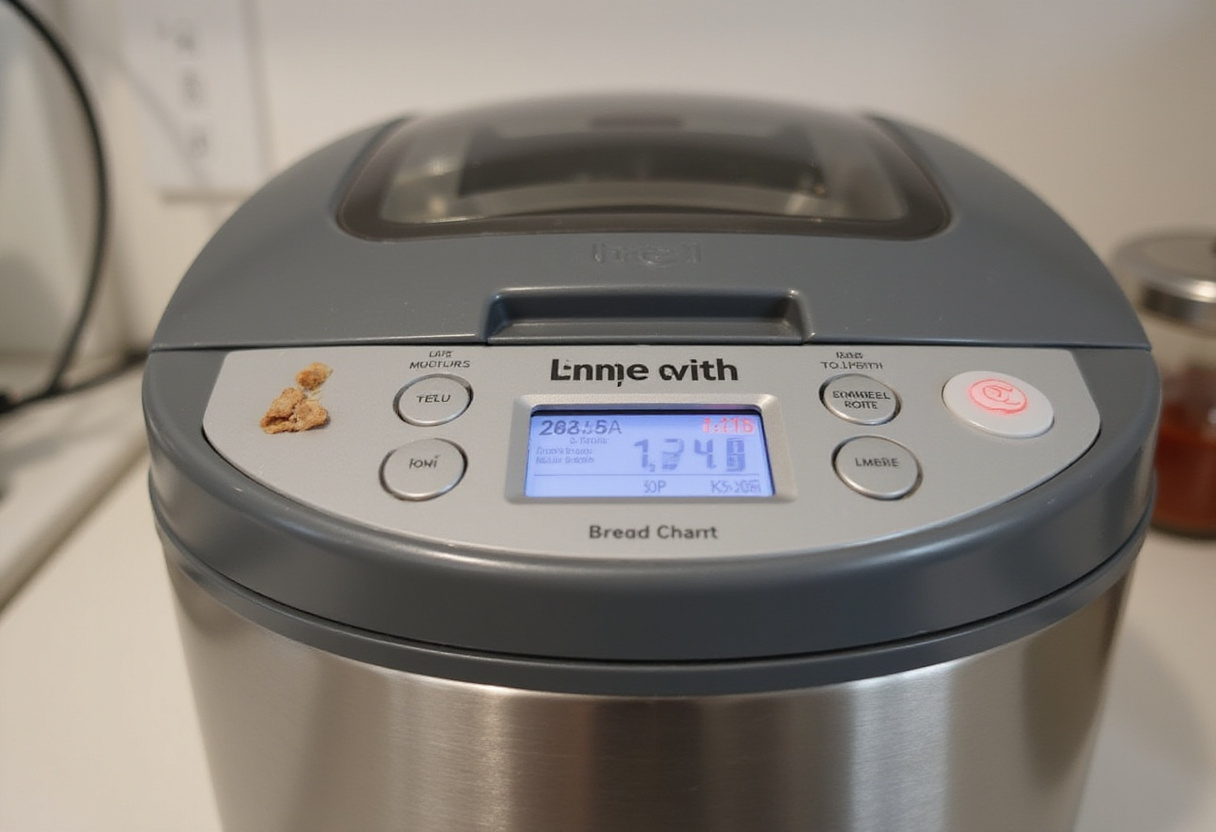
2. Understanding Your Bread Machine
Before you start experimenting with various bread machine recipes, it’s crucial to familiarize yourself with your bread machine. Different models have varying settings, features, and capacities, so reading the manual is absolutely essential. Pay close attention to the cycle durations, as this will significantly affect the texture and bake of your bread. Some machines have specific settings for different types of bread, like whole wheat, gluten-free, or even sweet breads. Understanding these nuances will set you up for creating the best bread machine recipes with confidence and achieving consistent results every time. Knowing your machine inside and out will empower you to customize your baking and truly make the techniques your own.
3. Gathering Essential Ingredients
The key to exceptional bread, regardless of whether you’re using a machine or baking by hand, lies in using fresh, high-quality ingredients. For most bread machine recipes, you’ll need the following core components:
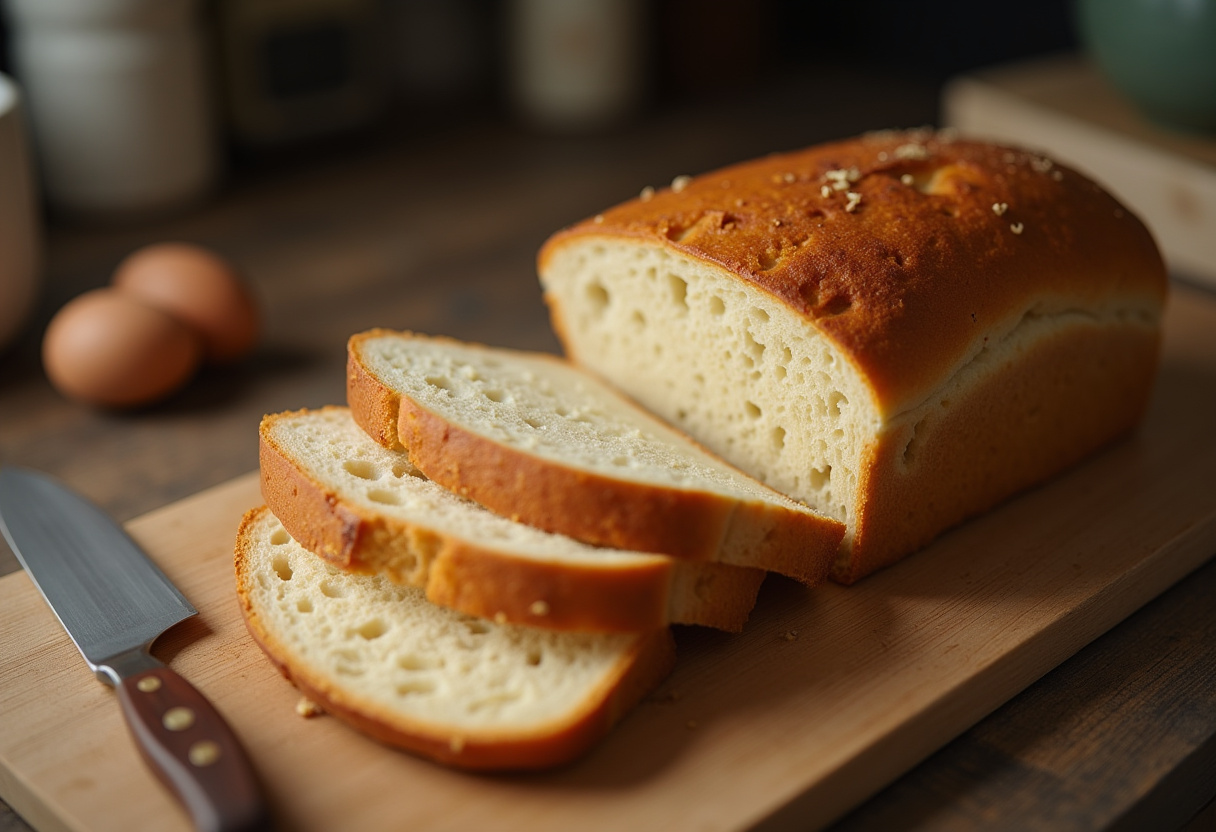
Bread flour: This is the foundation of your loaf. Bread flour has a higher protein content than all-purpose flour, which provides the necessary gluten development for a chewy, satisfying texture. Think of it as the structural backbone of your bread.
Yeast: The leavening agent that makes your bread rise. Use active dry or instant yeast; make sure it’s fresh and not expired. Expired yeast will result in a flat, dense loaf. Store your yeast in the refrigerator or freezer to prolong its shelf life.
Water: Lukewarm water (around 105-115°F or 40-46°C) is ideal for activating the yeast. Too hot, and you’ll kill the yeast; too cold, and it won’t activate properly.
Salt: More than just a flavor enhancer, salt balances the flavors and controls yeast activity. It helps to slow down the fermentation process, preventing the dough from rising too quickly.
Sugar: Feeds the yeast, giving it the energy it needs to produce carbon dioxide and make the bread rise. Sugar also adds a touch of sweetness and helps to create a tender crumb.
Oil or butter: Adds moisture and richness to the bread, resulting in a softer texture and a more flavorful loaf. Butter will add a richer, more complex flavor, while oil will create a slightly lighter texture.
Ensure all ingredients are at room temperature unless the recipe specifies otherwise. This promotes even mixing and consistent results, allowing the yeast to activate more effectively and the dough to come together smoothly. For inspiration, check out these breakfast recipes – you might find ideas for incorporating your freshly baked bread!
4. Step-by-Step Baking Guide
Follow these steps for flawless bread every time. Attention to detail at each stage is key to achieving that perfect loaf!
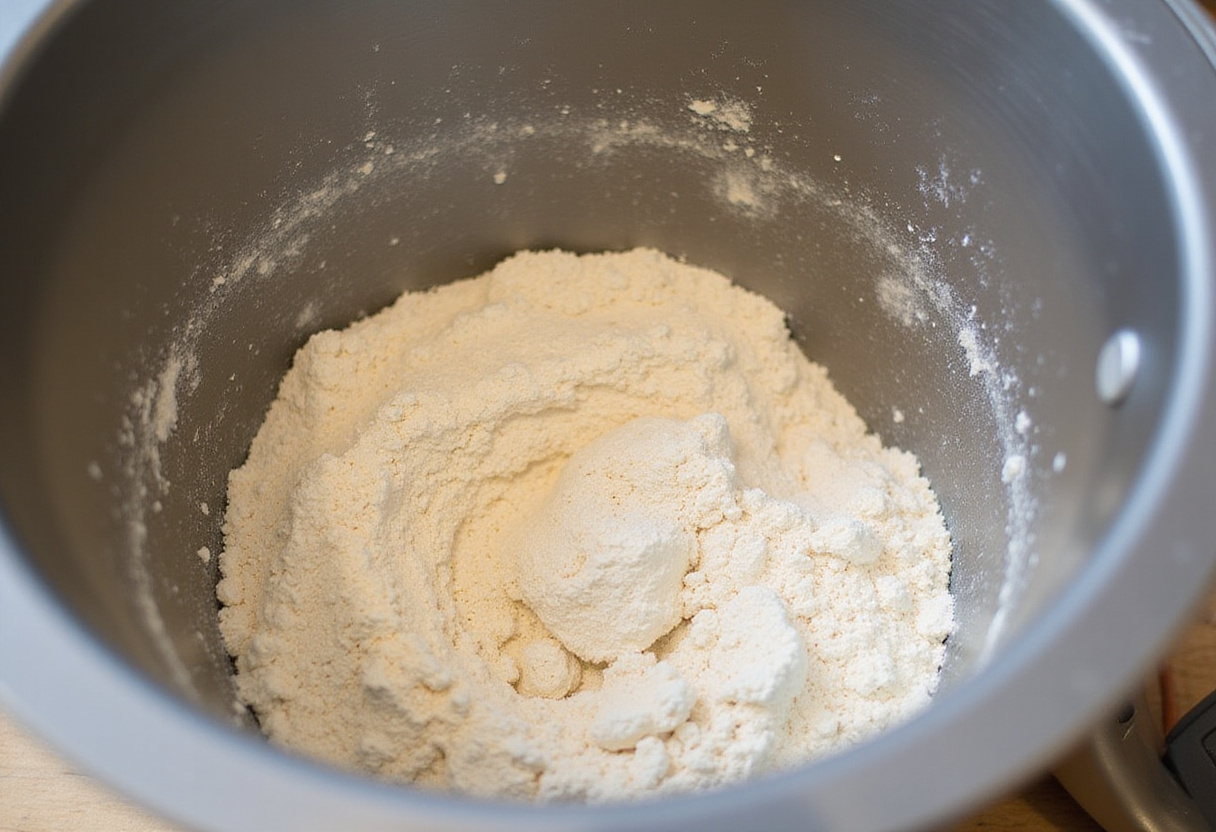
1. Measure Dry Ingredients First
Begin by accurately measuring your dry ingredients. Add the flour, sugar, and salt to the bread machine pan. Creating a small well in the center for the yeast is crucial. This prevents the yeast from coming into contact with the wet ingredients too soon, which can lead to premature activation and uneven rising. For savory needs, explore some of our soup recipes to enjoy with your fresh bread.
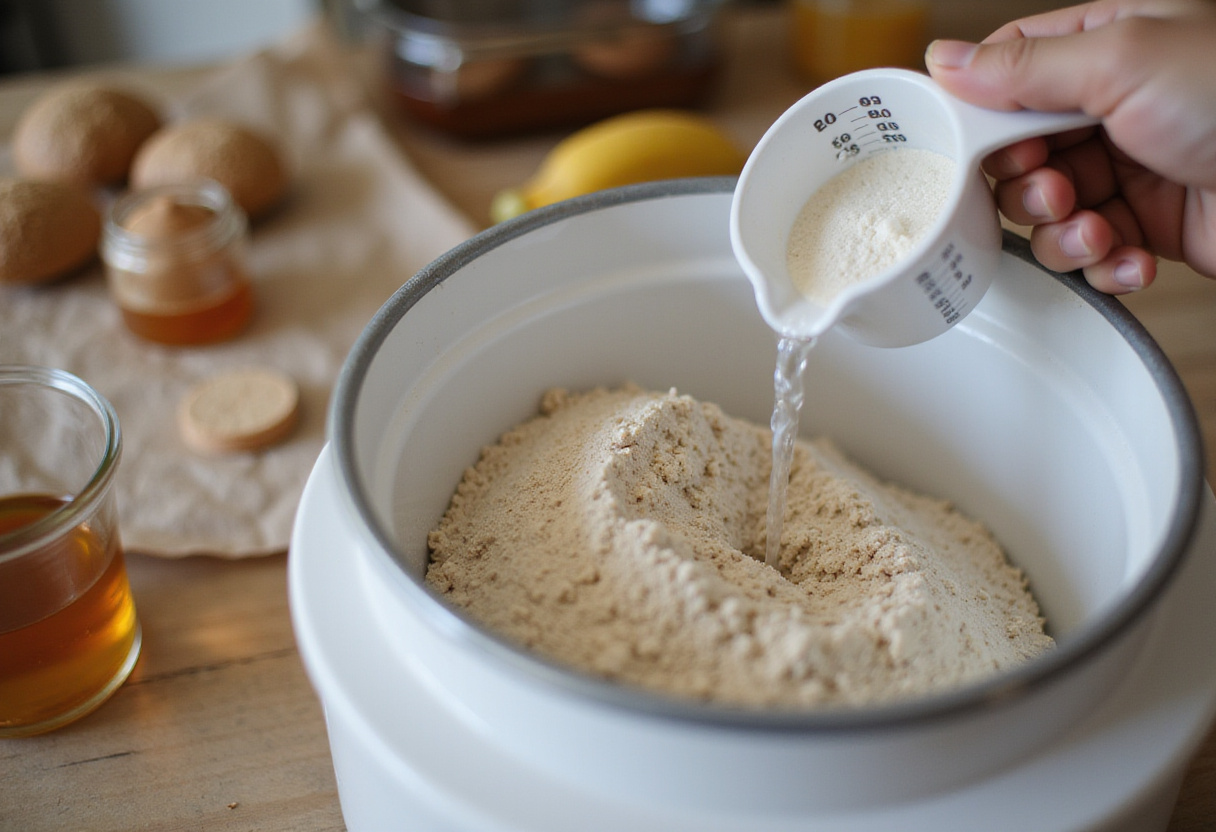
2. Add Wet Ingredients Carefully
Pour the lukewarm water and oil (or melted butter) into the bread machine pan, carefully ensuring the yeast stays dry within its well until the mixing process begins. This separation is vital as it helps control the initial fermentation, preventing it from starting too early and ensuring a more even rise. You might also find inspiration for your next meal among our dinner recipes, perfect alongside your homemade bread.
3. Select the Correct Cycle
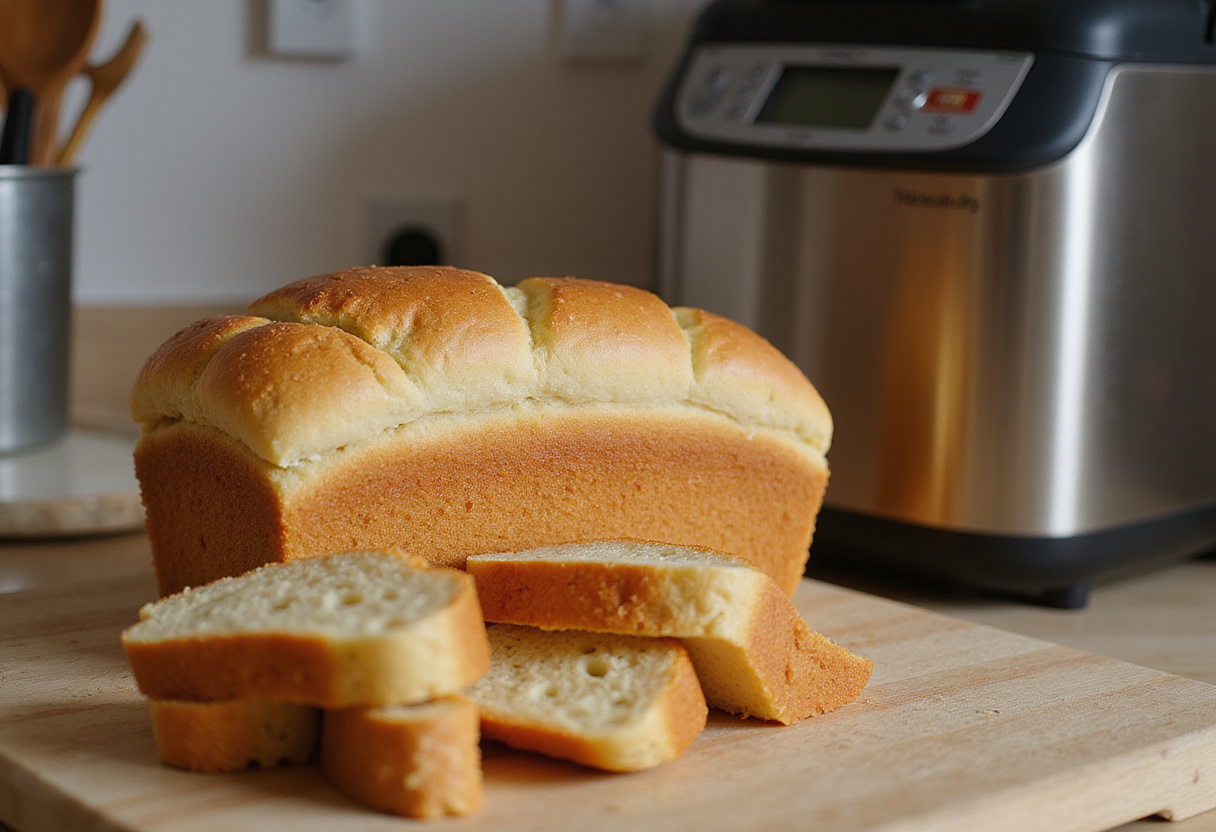
Choosing the appropriate setting on your bread machine is paramount. For a basic white bread, select the “Basic” or “White Bread” cycle. If you’re using a specific bread machine recipe for whole wheat or gluten-free bread, be sure to choose the corresponding setting to optimize the baking process for those types of dough. Also, ensure the crust color is set to your preference; a lighter crust setting will result in a softer crust, while a darker setting will create a more robust and crispy crust. Before starting, check out this great bread machine recipe for comparison!
4. Monitor the Dough
During the initial mixing phase, it’s important to keep a watchful eye on the dough’s consistency. It should gradually form a smooth, slightly sticky ball as the ingredients come together. If it appears too dry and crumbly, add a teaspoon of water at a time, allowing it to fully incorporate before adding more. Conversely, if it’s too wet and sticky, add a teaspoon of flour at a time. This small adjustment ensures the perfect texture for your bread, leading to a better rise and a more even bake. And for after your meal, consider some delicious desserts recipes.
5. Troubleshooting Common Issues
Bread not rising: The most common culprit is old or inactive yeast. Ensure your yeast is fresh and the water is at the correct temperature (lukewarm, around 105-115°F). Also, check that the sugar hasn’t expired, as yeast feeds on sugar.
Dense or gummy bread: This can be caused by too much liquid or not enough gluten development. Carefully measure the liquid ingredients and consider using bread flour, which has a higher gluten content than all-purpose flour.
Crust too dark: This is often due to excessive sugar content. Reduce the sugar slightly in your recipe or select a lighter crust setting on your bread machine.
Bread collapsing: This can happen if there’s too much yeast or liquid in the dough. Ensure you’re using precise measurements and not over-measuring the yeast.
6. Exploring Different Bread Machine Recipes
The possibilities are truly endless when it comes to homemade bread machine recipes. Once you’ve mastered the basic loaf, don’t be afraid to try variations like hearty whole wheat, tangy sourdough, or even sweet breads like a delicious cinnamon swirl. You can also experiment with adding ingredients like nuts, seeds, dried fruits, herbs, and cheeses to customize your loaves and create unique flavor combinations. With a little creativity and experimentation, you can master a wide variety of easy bread machine recipes and impress your family and friends with your baking prowess. If you’re planning a holiday meal, don’t forget to check out our recipes for hot cross buns for Easter dinner, or even these delicious hot cross buns and quick hot cross buns recipe for a sweet treat.
7. Tips for the Best Results
Always use fresh ingredients for optimal results. Freshly opened flour and yeast will give you the best rise and flavor.
Measure ingredients precisely using measuring cups and spoons, or better yet, a kitchen scale for even greater accuracy.
Keep your bread machine clean to prevent unwanted flavors from transferring to your bread. Wipe down the inside of the machine and wash the bread pan and kneading paddle after each use.
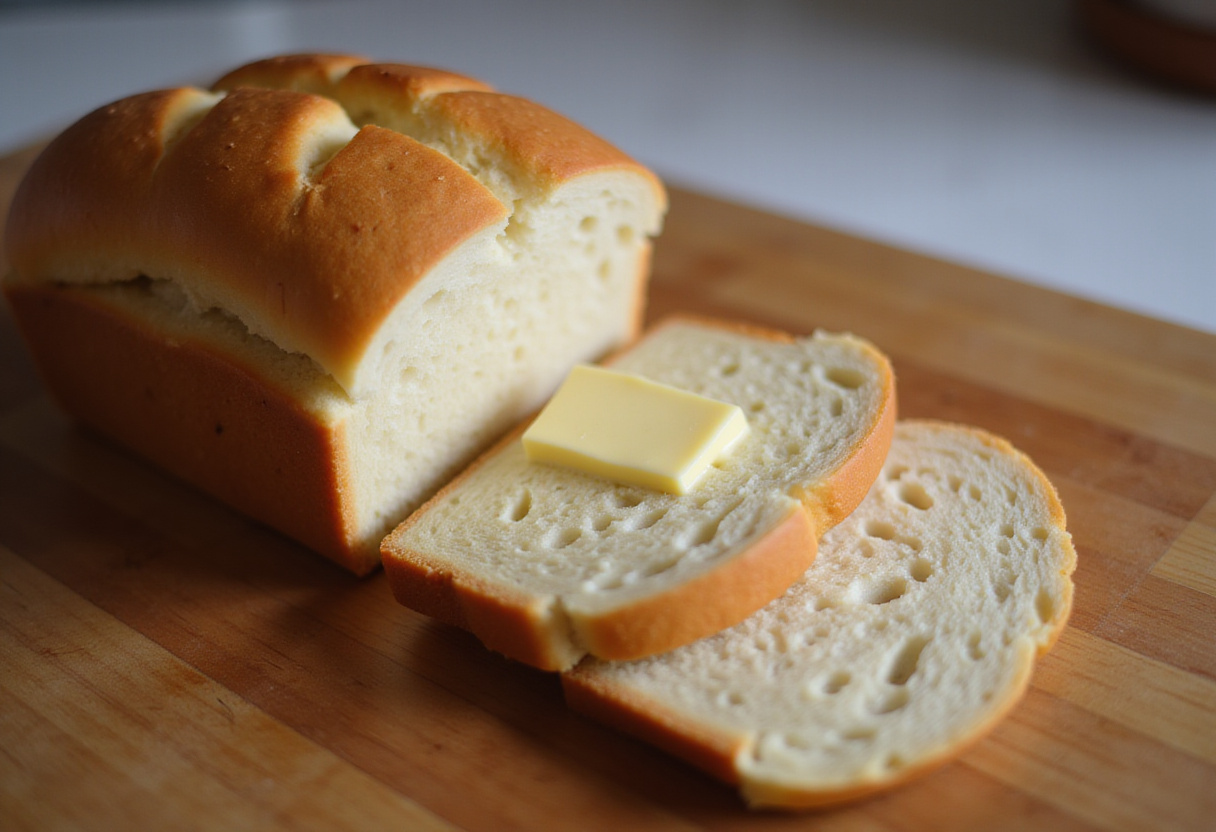
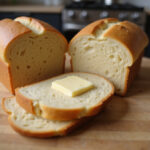
Let the bread cool completely on a wire rack before slicing to prevent a gummy texture. This allows the steam to escape and the crumb to set properly.
8. Storing Your Homemade Bread
To maintain freshness and prevent your homemade bread from drying out, store it in an airtight container at room temperature. A bread box is an ideal storage solution. For longer storage, slice the bread and freeze it in individual portions. This ensures you always have fresh-tasting bread on hand, ready to toast or use for sandwiches. It is also useful to prepare some hearty lentil and potato soup or creamy potato soup for a perfect match!
9. Conclusion
Baking bread in a bread machine is a convenient and rewarding experience that allows you to create delicious, homemade loaves with minimal effort. By following these steps and tips, paying attention to detail, and experimenting with different homemade bread machine recipes, you can consistently create bread that will impress your family and friends. Embrace the simplicity, enjoy the therapeutic process of baking, and relish the delightful aroma of freshly baked bread filling your home. Now, go forth and bake some amazing bread! Happy baking! And if you’re feeling ambitious, why not try one of our beef recipes to make a truly memorable meal?
Master the art of bread machine baking with our foolproof guide! Learn step-by-step techniques, essential tips, and delicious bread machine recipes to create perfect loaves every time. From basic white bread to adventurous variations, unlock the secrets to consistently delicious homemade bread.
Ingredients
Bread flour: Provides the necessary gluten for a chewy texture.
Yeast: Use active dry or instant yeast; make sure it’s not expired.
Water: Lukewarm water activates the yeast.
Salt: Balances the flavors and controls yeast activity.
Sugar: Feeds the yeast and adds a touch of sweetness.
Oil or butter: Adds moisture and richness to the bread.
Instructions
Measure Dry Ingredients First: Add the flour, sugar, and salt to the bread machine pan. Create a small well in the center for the yeast. This prevents the yeast from activating prematurely.
Add Wet Ingredients Carefully: Pour the lukewarm water and oil (or melted butter) into the bread machine pan, ensuring the yeast stays dry until the mixing process begins. This separation helps control the initial fermentation.
Select the Correct Cycle: Choose the appropriate setting on your bread machine. For basic white bread, select the ‘Basic’ or ‘White Bread’ cycle. If you’re using a specific bread machine recipe for whole wheat or gluten-free bread, choose the corresponding setting. Ensure the crust color is set to your preference.
Monitor the Dough: During the initial mixing phase, check the dough’s consistency. It should form a smooth, slightly sticky ball. If it’s too dry, add a teaspoon of water at a time. If it’s too wet, add a teaspoon of flour. This adjustment ensures the perfect texture for your bread.
Notes
Always use fresh ingredients for optimal results.
Measure ingredients precisely using measuring cups and spoons.
Keep your bread machine clean to prevent unwanted flavors.
Let the bread cool completely before slicing to prevent a gummy texture.