Cheesy Garlic Chicken Wraps Recipe | Easy Dinner Idea
Cheesy Garlic Chicken Wraps: A Melty, Flavor-Packed Delight 🌯🧀🔥
1. Introduction
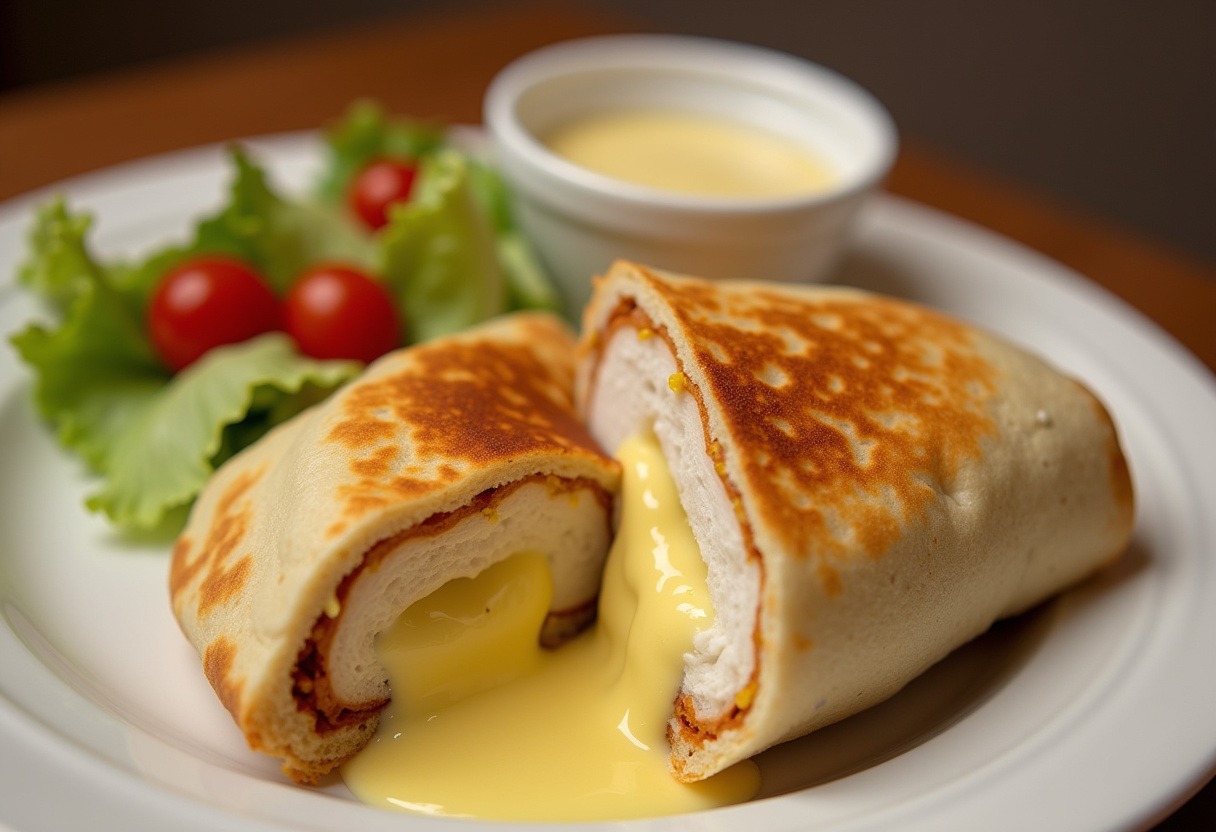
Looking for a quick and satisfying meal that’s packed with flavor? These Cheesy Garlic Chicken Wraps are the ultimate comfort food that combines tender, garlicky chicken with gooey melted cheese, all wrapped in a soft tortilla. Perfect for weeknight dinners, lunch meal prep, or even a quick snack, these wraps are incredibly versatile and easy to customize with your favorite toppings.
What makes this recipe stand out from other chicken recipes is the perfect balance of garlic flavor and cheesy goodness. The best part? You can have this restaurant-quality meal ready in under 30 minutes! Whether you’re a busy parent looking for kid-friendly meals or a meal-prep enthusiast wanting delicious options for the week, these wraps are a guaranteed crowd-pleaser.
2. Ingredients
One of the best things about this recipe is that it uses simple ingredients you probably already have in your kitchen. Here’s what you’ll need to make 4 generous servings:
2 boneless, skinless chicken breasts (about 1 lb total) – you can also use thighs for juicier results
1 tbsp garlic powder – the star ingredient that gives these wraps their signature flavor
1 tsp paprika – adds a subtle smokiness and beautiful color
1 tsp salt – enhances all the flavors
½ tsp black pepper – for a touch of heat
2 tbsp olive oil – for cooking the chicken to perfection
1 cup shredded cheddar cheese – or try a blend of cheeses for extra flavor
4 large flour tortillas – burrito-size works best for easy wrapping
1 cup shredded lettuce – adds freshness and crunch
½ cup diced tomatoes – for a juicy, fresh element
¼ cup sour cream (optional) – adds creaminess
¼ cup salsa (optional) – for a Mexican twist
Pro Tip: For an even more flavorful version, check out this professional chef’s variation that includes a special garlic butter sauce!
3. Step-by-Step Instructions
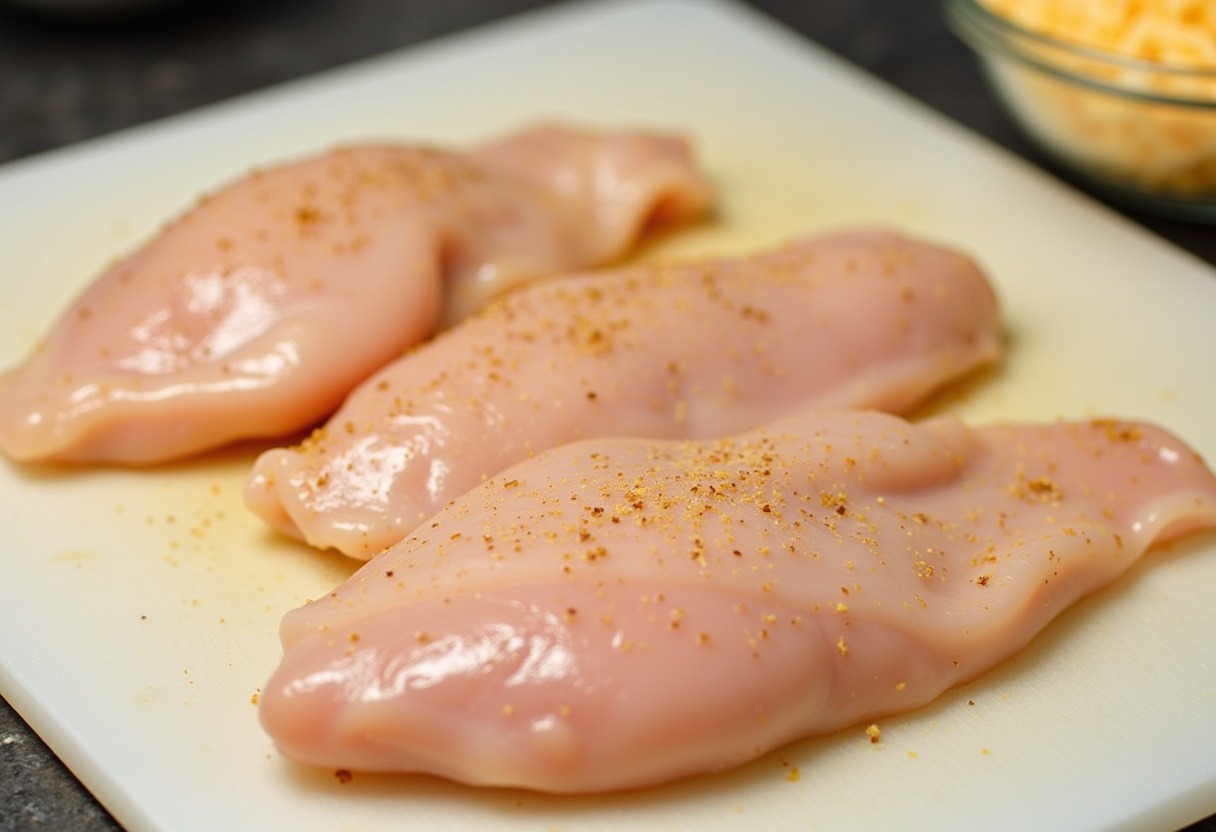
Step 1: Season the Chicken
Start by patting your chicken breasts dry with paper towels – this helps the seasoning stick better. In a small bowl, mix together the garlic powder, paprika, salt, and black pepper. Rub this spice mixture all over the chicken breasts, making sure to coat both sides evenly. Let the seasoned chicken sit for 5-10 minutes to allow the flavors to penetrate the meat.
If you love chicken recipes as much as we do, you’ll appreciate how this simple seasoning blend can transform ordinary chicken into something extraordinary!
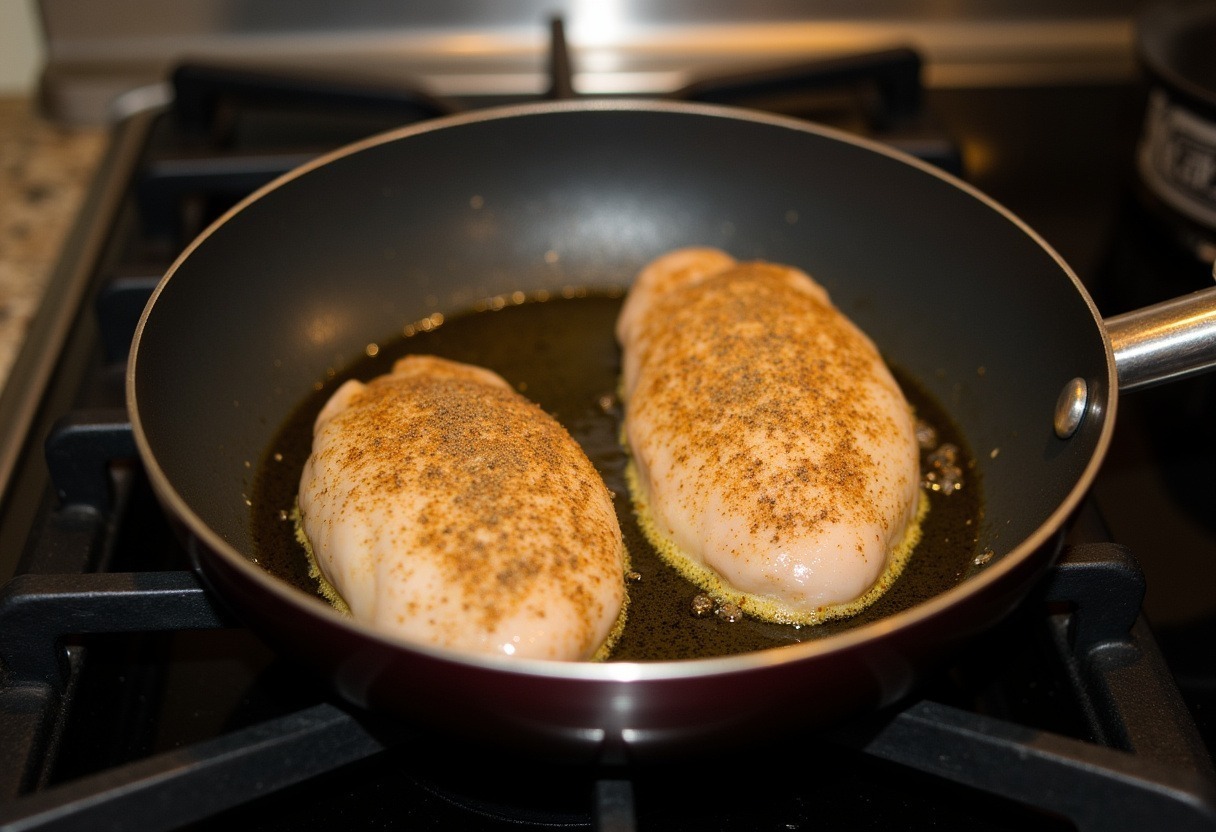
Step 2: Cook the Chicken
Heat the olive oil in a large skillet over medium-high heat. Once the oil is shimmering (about 1-2 minutes), carefully add the seasoned chicken breasts. Cook for 6-7 minutes on the first side until beautifully golden brown, then flip and cook for another 6-7 minutes on the second side.
The chicken is done when it reaches an internal temperature of 165°F (use a meat thermometer for accuracy). Remove from heat and let the chicken rest for 5 minutes before slicing – this keeps all those delicious juices inside!
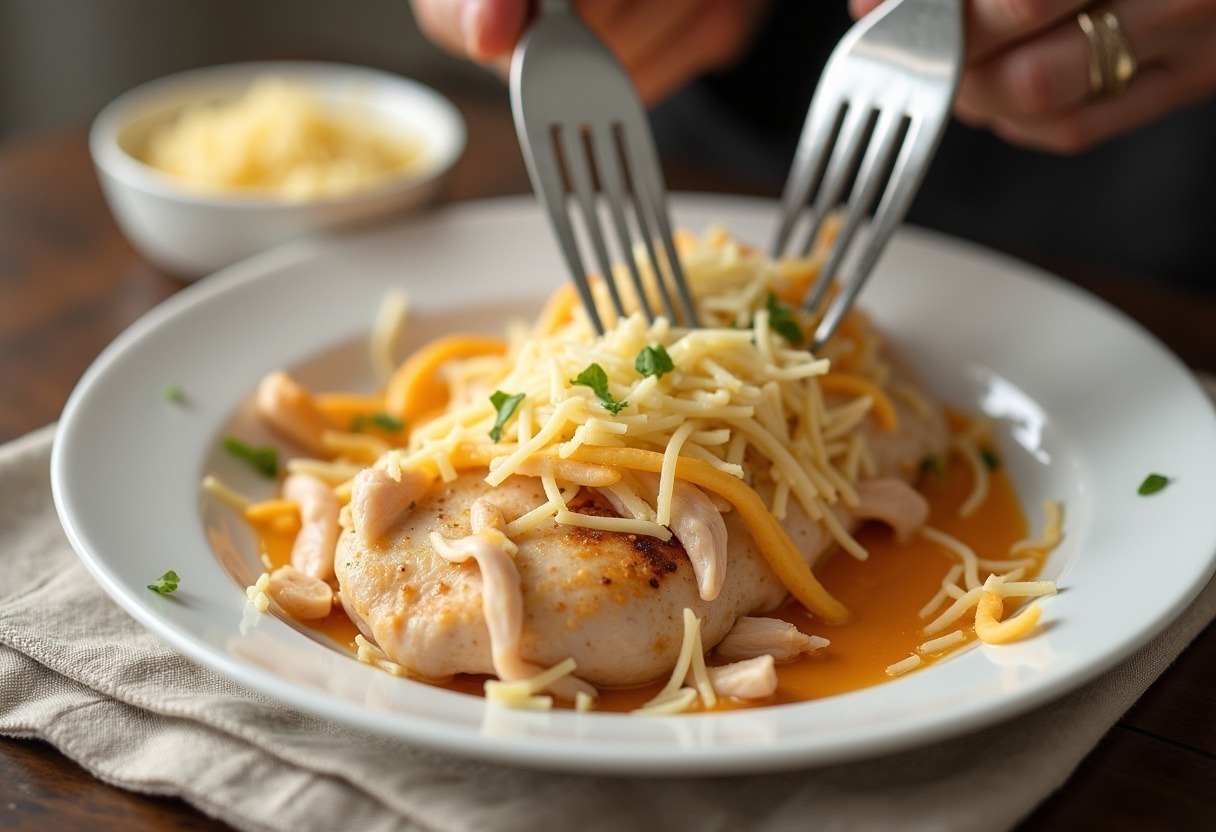
Step 3: Add the Cheese
After resting, slice the chicken into thin strips (about ½-inch thick) against the grain for maximum tenderness. Return the sliced chicken to the skillet over low heat. Sprinkle the shredded cheddar cheese evenly over the chicken and let it melt for 1-2 minutes. For extra cheesy goodness, you can cover the skillet briefly to help the cheese melt faster.
This is where the magic happens – the combination of garlicky chicken and melted cheese is absolutely irresistible! If you’re looking for more easy dinner ideas with cheese, we’ve got plenty to choose from!
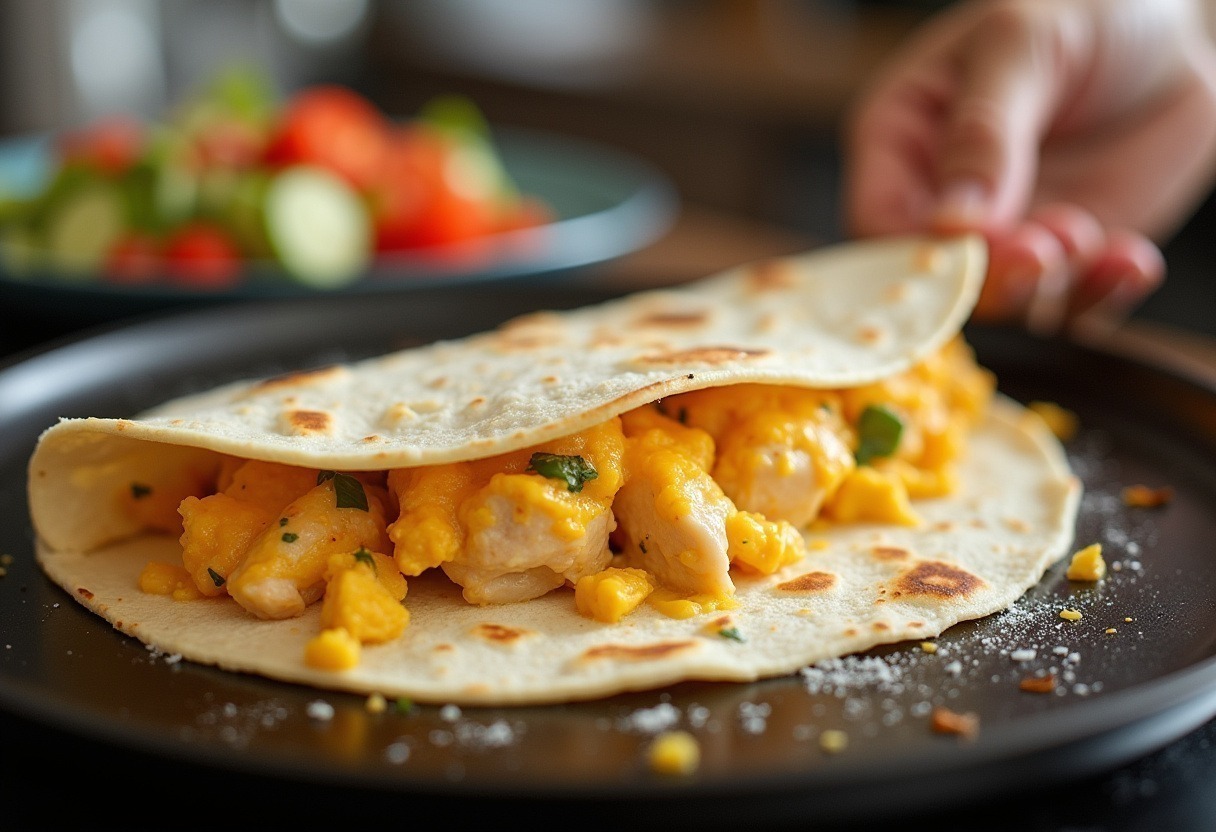
Step 4: Assemble the Wraps
While the cheese is melting, warm your tortillas slightly – this makes them more pliable and prevents cracking. You can do this in a dry skillet for about 30 seconds per side, or wrap them in a damp paper towel and microwave for 20-30 seconds.
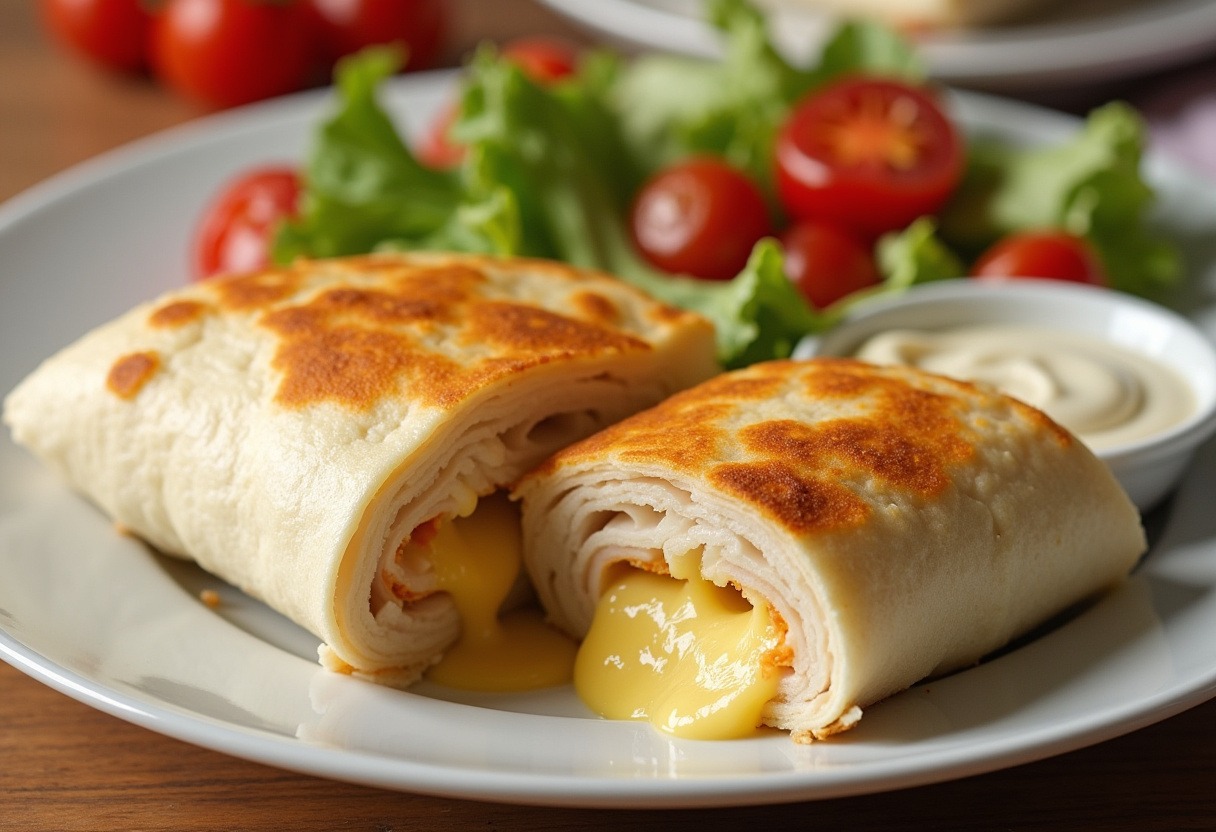
To assemble, place about ¼ of the cheesy garlic chicken mixture in the center of each tortilla. Top with shredded lettuce and diced tomatoes. Add sour cream or salsa if using. For perfect wrapping, fold the sides of the tortilla inward first, then roll from the bottom up, tucking the filling in as you go.
If you enjoy wrap recipes, you might also love our breakfast wrap ideas for a delicious morning meal!
4. Serving Suggestions
These Cheesy Garlic Chicken Wraps are delicious on their own, but here are some serving ideas to make them part of a complete meal:
Pair with crispy french fries or sweet potato fries for a satisfying combo
Serve with a fresh green salad for a lighter option
Add a cup of tomato soup or chicken tortilla soup on the side
For dipping, offer ranch dressing, chipotle mayo, or your favorite hot sauce
Looking for more complete meal ideas? Check out our main recipe collection for inspiration!
5. Storage and Meal Prep Tips
These wraps are great for meal prep! Here’s how to store them:
Refrigerator: Store assembled wraps tightly wrapped in foil or plastic wrap for up to 2 days. To reheat, remove wrapping and microwave for 1-2 minutes or warm in a 350°F oven for 10 minutes wrapped in foil.
Freezer: For longer storage, wrap tightly in plastic wrap then foil and freeze for up to 1 month. Thaw overnight in refrigerator before reheating.
Meal Prep Tip: You can prep the chicken and cheese mixture ahead and store it separately, then assemble wraps fresh when ready to eat to prevent soggy tortillas.
6. Delicious Variations
One of the best things about this recipe is how easily you can customize it to your taste:
Spicy Kick: Add sliced jalapeños, a dash of cayenne pepper, or drizzle with hot sauce
Low-Carb/Keto Option: Use large lettuce leaves instead of tortillas or low-carb wraps
Extra Cheesy: Mix mozzarella with cheddar for that perfect cheese pull
Southwest Style: Add black beans, corn, and avocado with a lime crema
Italian Twist: Use Italian seasoning blend and provolone cheese
For more creative recipe variations, visit our recipe development section where we share all our cooking tips and tricks!
7. Nutritional Information
Here’s the approximate nutritional breakdown per wrap (using standard ingredients):
Calories: 450
Protein: 25g
Carbohydrates: 30g
Fat: 22g
Fiber: 3g
Sugar: 2g
Note: Nutritional values may vary based on specific ingredients used and portion sizes. For lower calorie options, consider using reduced-fat cheese or smaller tortillas.
8. Frequently Asked Questions
Can I use chicken thighs instead of breasts?
Absolutely! Chicken thighs will work wonderfully in this recipe. They tend to be more flavorful and juicy, though slightly higher in fat. Just adjust cooking time as needed since thighs may take a bit longer to cook through.
Can I make these wraps ahead of time?
You can prepare all the components ahead of time, but for best results, assemble the wraps just before serving. Pre-assembled wraps may become soggy if stored for more than a few hours. Instead, store the chicken mixture, tortillas, and toppings separately in the fridge.
What other cheeses can I use?
This recipe is very versatile when it comes to cheese choices. Some great options include:
Pepper jack for some heat
Monterey Jack for mild creaminess
Colby Jack for a nice color contrast
Feta for a tangy twist
Gouda for a smoky flavor
Can I make this recipe gluten-free?
Yes! Simply use gluten-free tortillas and ensure all your other ingredients (especially spices) are certified gluten-free. The rest of the recipe is naturally gluten-free.
What’s the best way to reheat leftovers?
For best results, reheat in a 350°F oven wrapped in foil for about 10 minutes. You can also microwave for 1-2 minutes, though the tortilla may become slightly softer.
9. Conclusion
These Cheesy Garlic Chicken Wraps are proof that delicious meals don’t have to be complicated. With just a few simple ingredients and about 30 minutes, you can create a flavorful, satisfying meal that everyone will love. The combination of garlic-seasoned chicken and melted cheese is always a winner, and the customizable nature of this recipe means you can make it different every time!
Whether you’re looking for an easy dinner recipe, meal prep solution, or crowd-pleasing party food, these wraps deliver on all fronts. The recipe is simple enough for beginner cooks but delicious enough to impress even the pickiest eaters.
We’d love to hear how your Cheesy Garlic Chicken Wraps turn out! Share your creations with us and don’t forget to explore our other dessert recipes to complete your meal. Happy cooking!
Cheesy Garlic Chicken Wraps are the ultimate comfort food, combining tender, garlicky chicken with gooey melted cheese, all wrapped in a soft tortilla. Perfect for lunch, dinner, or even a quick snack, these wraps are packed with flavor and easy to customize. Whether you’re a busy parent or a meal-prep enthusiast, this recipe is a guaranteed crowd-pleaser.
Ingredients
Scale
2 boneless, skinless chicken breasts
1 tbsp garlic powder
1 tsp paprika
1 tsp salt
½ tsp black pepper
2 tbsp olive oil
1 cup shredded cheddar cheese
4 large flour tortillas
1 cup shredded lettuce
½ cup diced tomatoes
¼ cup sour cream (optional)
¼ cup salsa (optional)
Instructions
Season the chicken breasts with garlic powder, paprika, salt, and black pepper.
Heat olive oil in a skillet over medium-high heat. Cook chicken for 6-7 minutes per side until fully cooked (165°F internal temperature). Let rest for 5 minutes before slicing.
Slice the cooked chicken into strips, return to skillet, and sprinkle with shredded cheddar cheese. Let melt for 1-2 minutes.
Warm tortillas slightly, then layer with cheesy garlic chicken, shredded lettuce, and diced tomatoes. Add sour cream or salsa if desired. Fold sides inward and roll tightly to secure.
Notes
Spicy Kick: Add jalapeños or hot sauce for extra heat.
Low-Carb Option: Use lettuce wraps instead of tortillas.
Extra Cheesy: Mix mozzarella with cheddar for a stretchier melt.
Store leftovers in an airtight container in the refrigerator for up to 2 days.